
When the last tile is laid, the work isn’t over. Grout residue removal is a critical final step that ensures a clean, professional result. Overlooking this can lead to dull finishes, surface damage, and unwanted callbacks. For contractors, mastering this end-of-work clean is key to safeguarding the installation and your reputation.
In this guide, we’ll explore how to identify grout types, select the right products, and execute post-installation cleaning effectively—so you can achieve spotless results every time. From cementitious grout to epoxy, urethane, and pre-mixed varieties, keep reading and learn how to tackle them all with confidence.
Why Grout Haze Removal is Crucial
Grout deposits are more than just unsightly—they can compromise the integrity of your work and the longevity of the materials. Here’s why you shouldn’t overlook this essential cleaning step:
- Preserve Aesthetic Quality: Grout haze creates streaks and hazy spots that mar the appearance of tiles and stone.
- Maintain Surface Longevity: Grout residue left untreated can build up over time, potentially leading to surface degradation and discoloration.
- Improve Hygiene: Grout deposits can trap dirt, dust, and bacteria, making the area harder to clean and maintain.
- Save Time and Costs: Addressing grout haze promptly prevents more complicated, time-consuming cleaning processes later, saving both time and money.
- Avoid Callbacks: Proper grout removal ensures customer satisfaction, reduces the need for repeat visits, and protects your good name.
Identifying the Type of Grout
When cleaning cured grout, you must know exactly what type you’re working with. If you’re unsure, don’t worry—there are a few simple ways to identify your grout type, even if you no longer have the packaging. Here’s what to look out for:
- Check the Packaging: The packaging will often have keywords such as “cementitious,” “epoxy,” “urethane,” “pre-mixed,” or “hybrid” that can give you a clear indication of the grout type. If you still have the packaging, check for these key terms.
- Water Absorption Test: If you’re missing the packaging, a quick and simple test can help. Drop a small amount of water onto the grout. Cementitious grout will absorb water, while epoxy, urethane, and pre-mixed grouts will not. This is a good indicator of the grout type you’re dealing with.
- Texture and Granules: Another way to identify the grout is by its texture. Cementitious grout tends to have a rougher texture with larger, sand-like granules. On the other hand, epoxy and pre-mixed grouts are much smoother, with finer granules. The smoother the texture, the more likely it is to be an epoxy or urethane grout.
FILA’s Expert Solutions for Grout Residue Removal
To achieve the best results, it’s essential to select the appropriate cleaner based on the type of grout and the material used. Let’s take a closer look at the cleaners designed for different grout types and their specific applications:
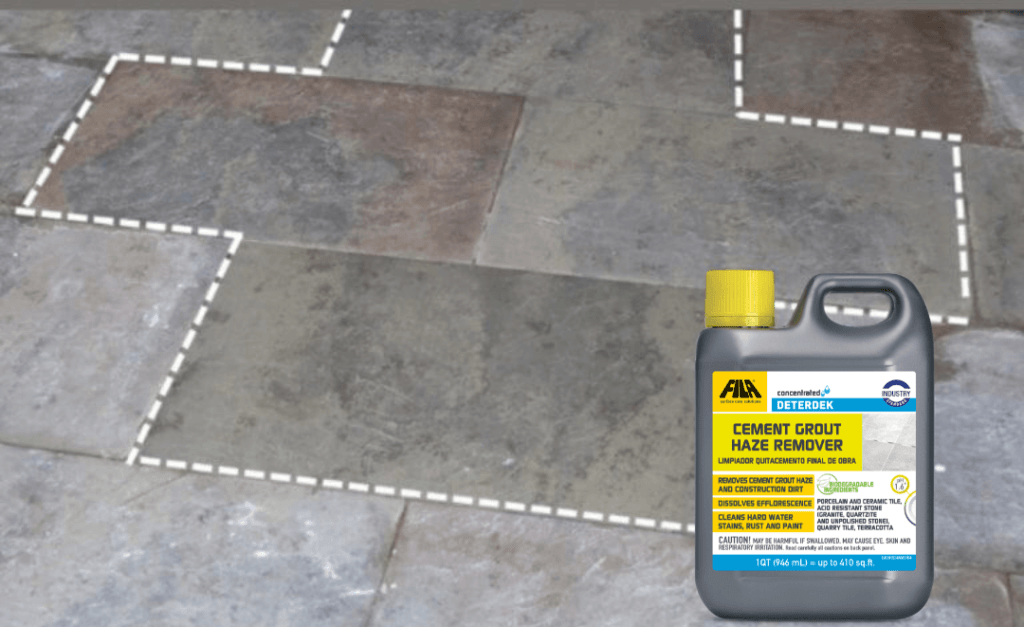
Cementitious Grout Deposits
DETERDEK is formulated to address cement grout haze and other tough post-installation dirt. Its powerful yet eco-conscious formula effectively breaks down grout marks, restoring porcelain tiles to their original condition. As a safer alternative to harsh chemicals like muriatic acid, it’s both sustainable and surface-friendly.
Application guide
- Dilution: Mix DETERDEK diluted 1:5 (1 quart of product to 5 quarts of water).
- Application: Wet the substrate and grout joints with water, then apply the diluted solution evenly.
- Waiting: Let the solution sit for 5-10 minutes.
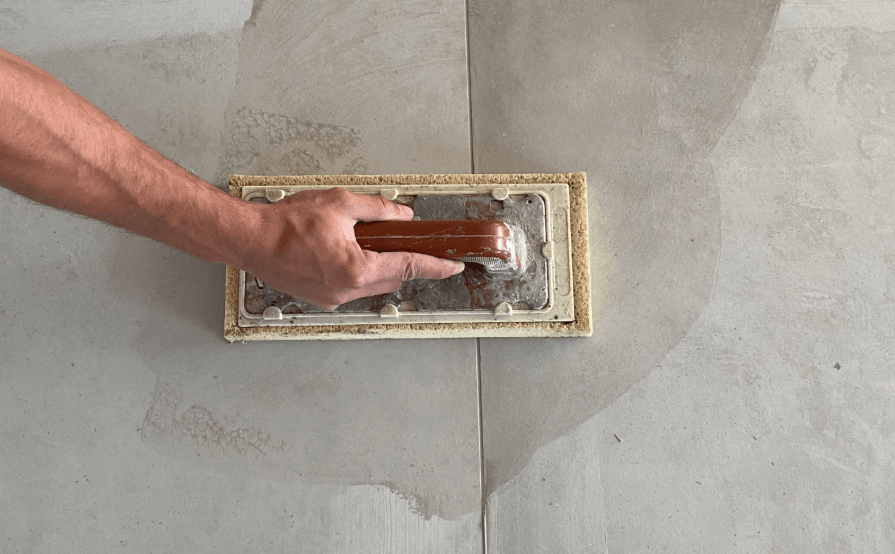
- Scrub and Rinse: Vigorously scrub the area with an abrasive pad or large brush. If any tough dirt persists, reapply with a stronger solution.
Epoxy Grout Residues
EPOXYOFF removes cured epoxy, urethane, and pre-mixed grout haze from non-absorbent surfaces like porcelain, ceramic tile, and glass mosaics. Its powerful formula eliminates even the toughest remnants without harming the finish.
Step-by-Step Method
- Wait for Curing: Ensure the grout has been cured for at least 24 hours.
- Shake and Apply: Shake well and apply directly onto grout haze and stains using a large, flat paintbrush.
- Waiting Time: Allow the product to sit for 30 minutes.
- Scrubbing: Use an abrasive pad to scrub the surface, and scrape away the remaining deposits with a spatula if necessary.
- Extensive Floor Spaces: A floor scrubbing machine can speed up the process.
- Final Rinse: Rinse thoroughly to remove the grout.

Natural Stone Grout Build-Up
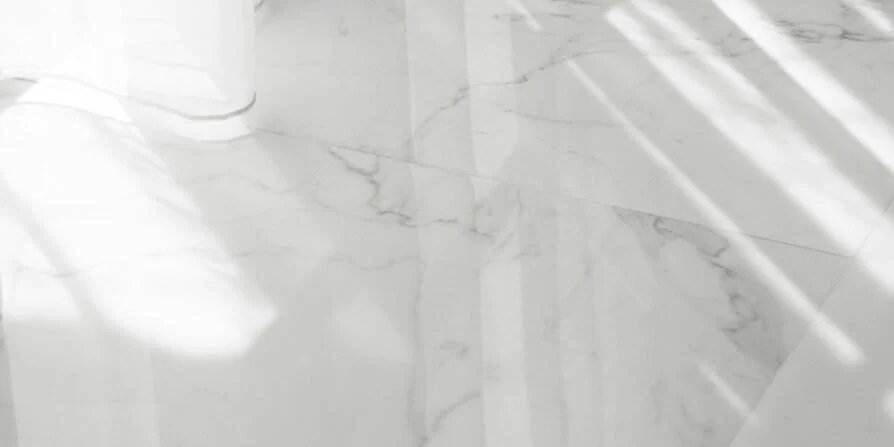
STONECLEAN is formulated to gently clean all natural stone after installation, effectively removing residues left by any type of grout. Its gentle formula makes it suitable for acid-sensitive stones like marble, limestone, and travertine.
Usage Instructions
- Dilution: For the initial cleaning of all stone after installation, dilute STONECLEAN at 1:30.
- Application: Apply the solution and scrub with a brush or a floor scrubber fitted with a white pad.
- Removal: Mop or use a wet vac to remove any remains, then rinse thoroughly for a spotless finish.
Fast-Track Solutions for Efficient Cleaning
Eliminate Grout Residues Before They Cure
FILA’s Instant Solutions are designed to make grout removal faster and more efficient, saving contractors time and effort on every job. Thanks to RAPIDDRY TECHNOLOGY, these products can be applied during installation, allowing you to deal with grout haze before it cures and hardens.
CEMENT-BASED GROUT
Ideal for cementitious grout, INSTANT REMOVER works quickly to eliminate residue before it sets:
- Apply after the grout has initially set (usually 10-30 minutes).
- Let sit for 1-2 minutes (5-10 minutes for textured tiles).
- Wipe away the marks with a sponge trowel, rinsing often to keep the sponge clean.
- For persistent stains, follow the same steps again after an hour.
This product significantly helps speed up the cleaning process, allowing for faster project completion.
EPOXY-BASED GROUT
For stubborn epoxy, urethane, and pre-mixed fresh grout, HYBRID & EPOXY PRO offers a powerful solution:
- Carefully remove excess grout before it sets, following the guidelines provided by the grout manufacturer.
- Spray evenly on the grout joints.
- Let it sit for 3 minutes.
- If cleaning is done a few hours after grouting, allow the product to sit for around 20 minutes.
- Wipe gently with a grout sponge and rinse thoroughly.
Perfect for use on porcelain, ceramic tiles, glass mosaic, and quarry tiles, both Instant Solutions are gentle yet effective. They won’t damage or corrode aluminum and steel trims, making them ideal for detailed contemporary designs.
With these fast-acting products, contractors can reduce cleanup time, improve efficiency, and stay on track for quicker project turnarounds—all without compromising the quality of the finish.
Partnering with FILA Solutions
At FILA Solutions, we provide high-performance products backed by expert guidance to ensure exceptional results at every stage of your project.
- Tailored Product Recommendations: Our team identifies the most effective solutions for your specific challenges, from grout removal to large areas and stubborn stains.
- Expert Support: Whether you need advice or on-site assistance, we’re here to help you work smarter and achieve outstanding results.
Partnering with FILA means more than just using premium products—it’s about having a trusted partner by your side for every cleaning challenge, ensuring flawless results every time.
Seal the Deal with a Clean, Professional Finish
Grout removal is a crucial step to ensure your work not only looks fantastic but also stands the test of time. By selecting the right products and applying the right techniques, you’ll achieve a flawless finish that enhances both the appearance and durability of your surfaces.
With FILA Solutions’ specialized products and expert support, contractors can manage any cleaning challenge with confidence. Ready to discuss your next project? Our technical team is here to help you deliver exceptional results on every job. Get in touch to learn more about the products featured in this post!